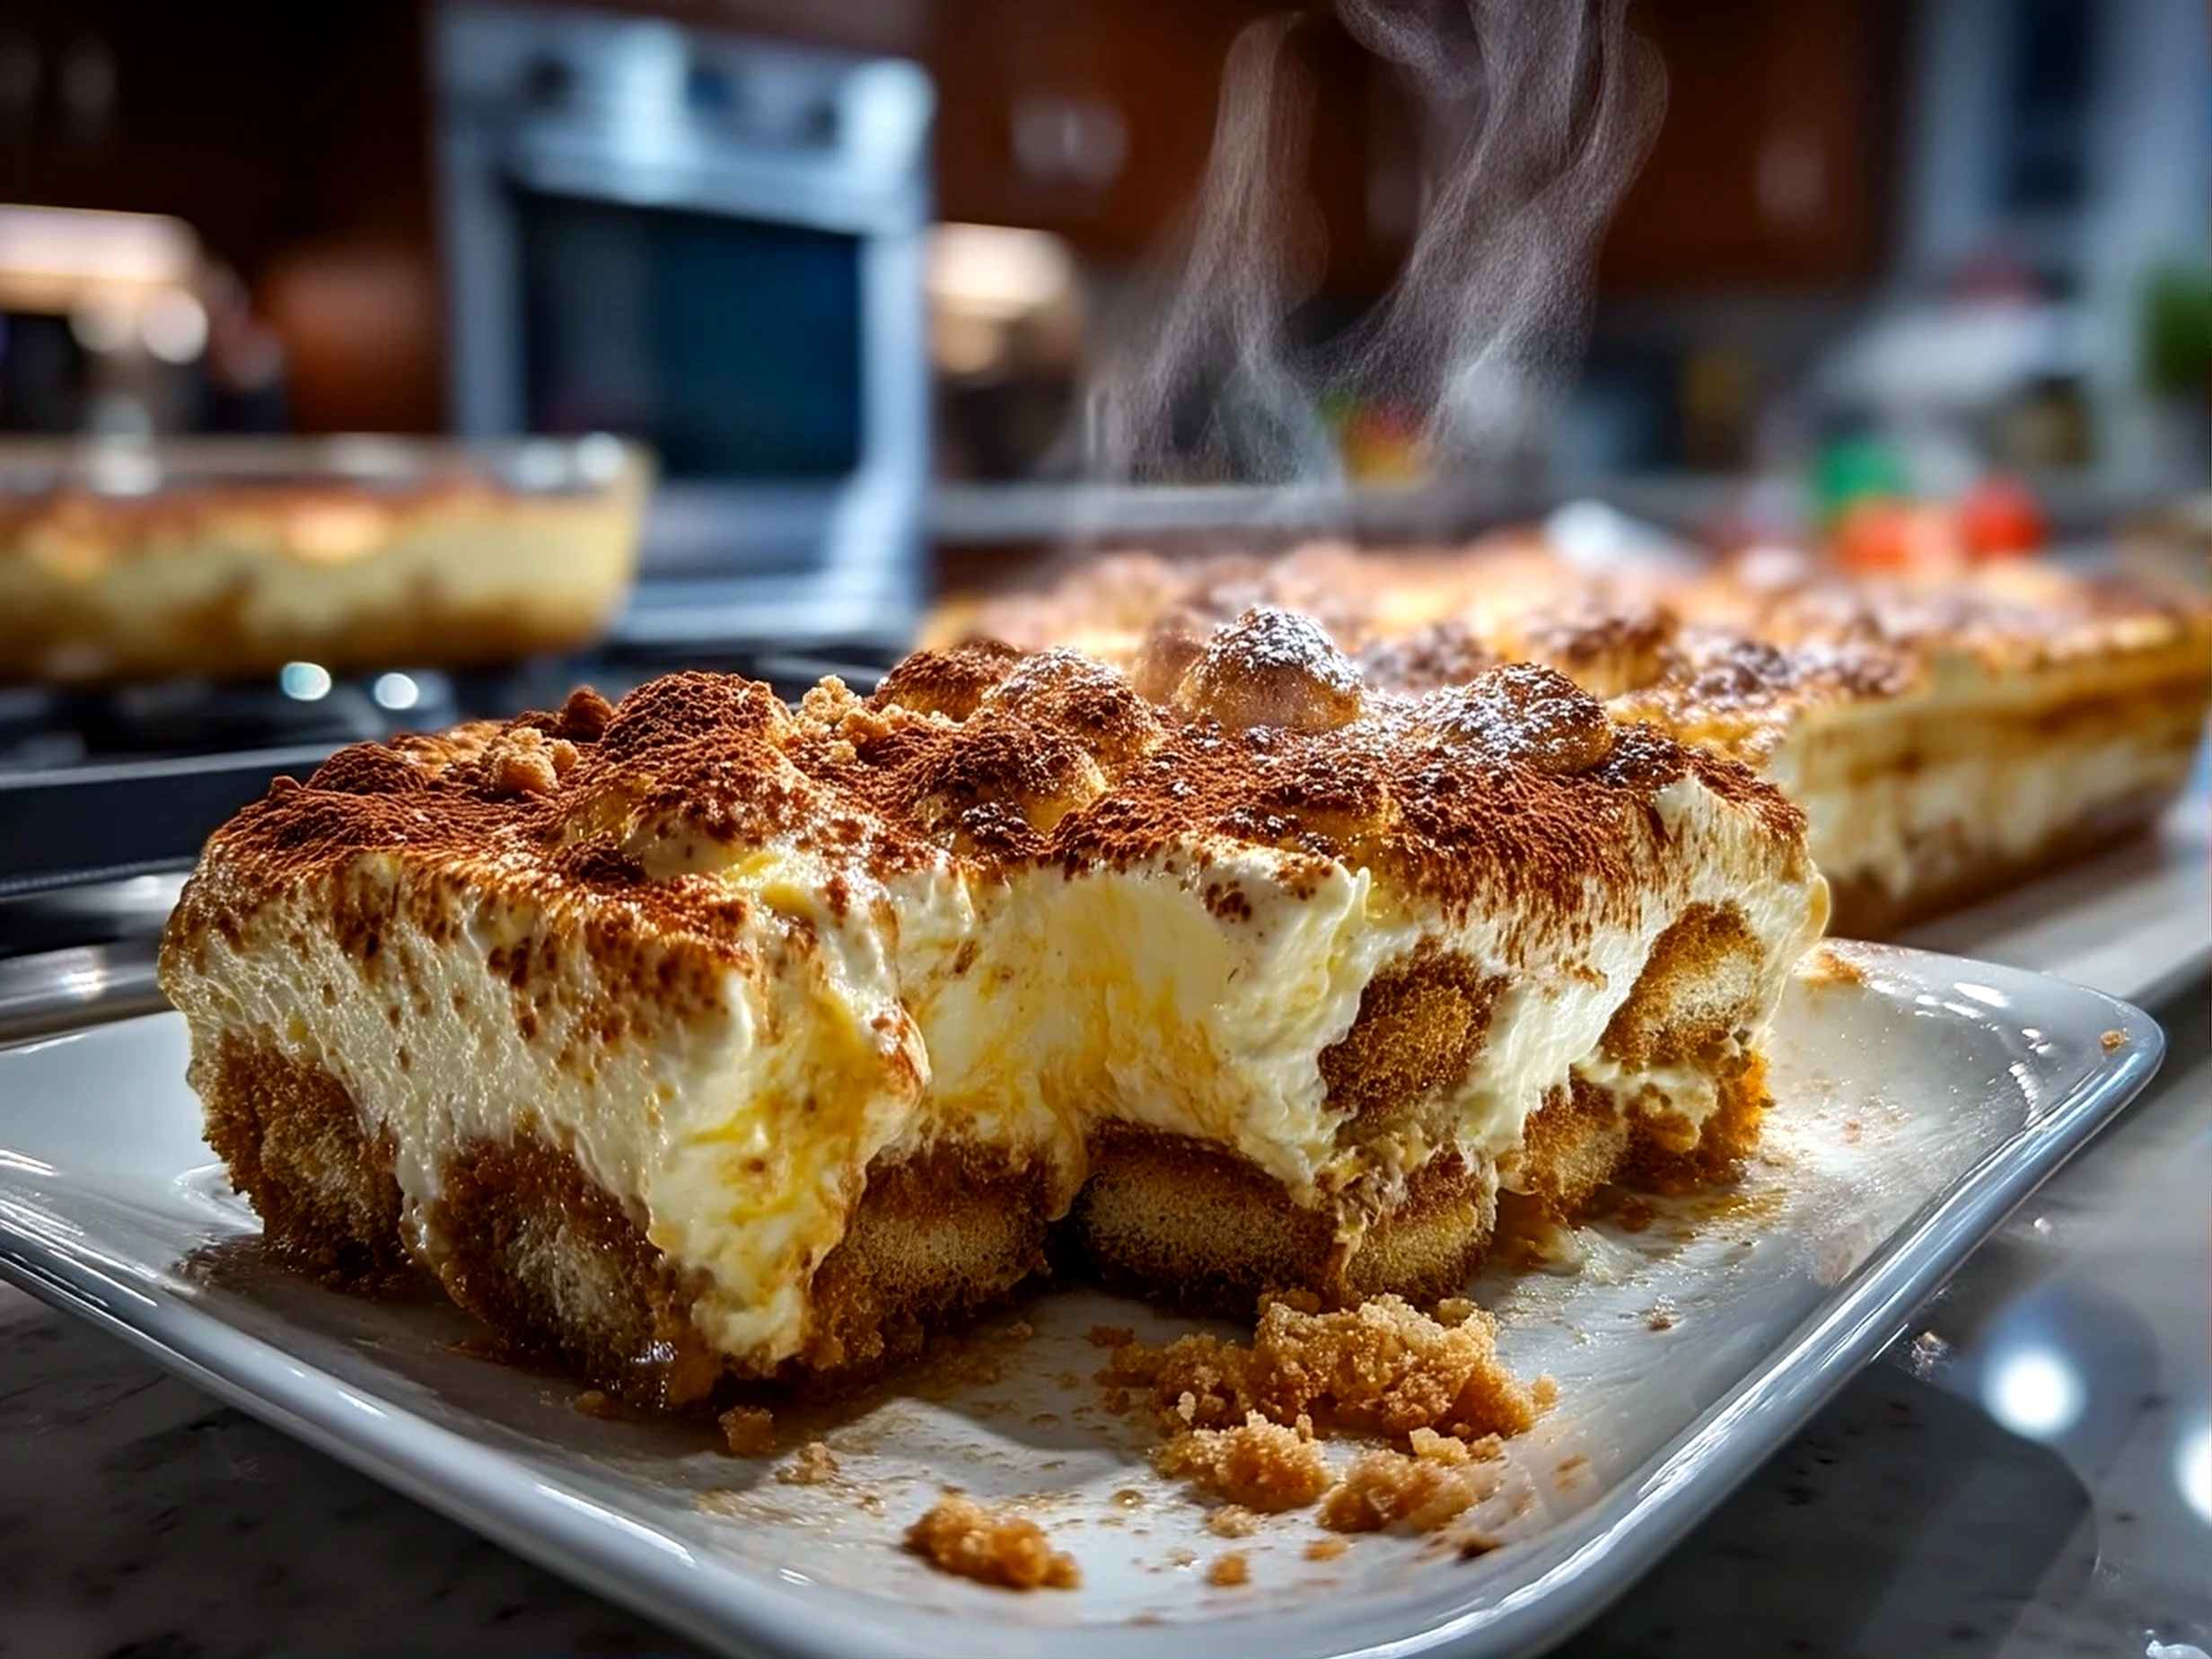
There was one evening when I first fell head over heels for Tiramisu Bars. It was a cozy little gathering at a friend’s house, and she whipped up this coffee flavored dessert bars treat that was as simple as it was stunning. The creamy layers paired so perfectly with the espresso-soaked base, it felt like a little celebration in every bite. What stuck with me was how approachable the whole thing was—no complicated steps or fancy equipment—just honest comfort food that everyone loved. Since then, Tiramisu Bars have become a staple in my recipe rotation, especially when I want something that feels special but doesn’t eat up my whole evening.
Tiramisu Bars fit right into real-life cooking and gatherings because they’re just so versatile. Whether it’s a last-minute dessert for friends, a cozy night-in treat, or a crowd-pleasing dish for potluck, they hit the mark every time. Plus, you don’t have to be a pastry pro to make creamy, coffee-flavored magic happen in your own kitchen. These bars bring that classic tiramisu experience but in a way that’s fast, fun, and fuss-free.
If you’re on the hunt for an easy tiramisu dessert that delivers on flavor without complicated prep, this is it. I’m really excited to share everything I’ve picked up from countless batches—how to get the right texture, the best coffee punch, and even a simple twist on cream cheese tiramisu bars that’ll make your taste buds sing. Let’s dive in, fellow home cooks, and make some Tiramisu Bars you’ll want to make again and again.
What You’ll Need:
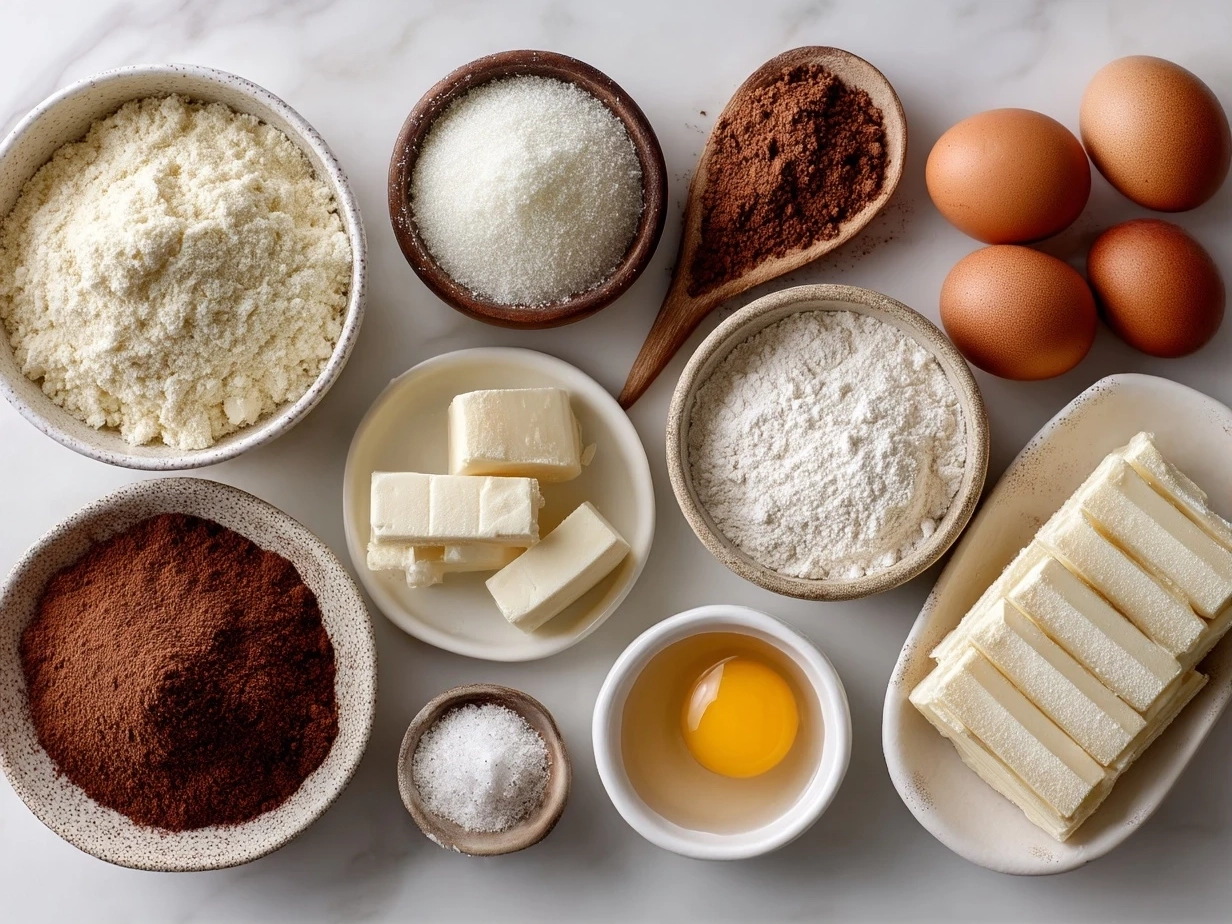
- 8 ounces cream cheese, softened – I use this as a base in my cream cheese tiramisu bars for that rich, luscious texture. No problem if you prefer mascarpone or ricotta; they both work well and add a subtle twist to the flavor.
- 1 cup powdered sugar – It sweetens perfectly without graininess. If you don’t have powdered sugar, you can pulse granulated sugar in a blender for a quick substitute.
- 1 cup heavy whipping cream – Whipping cream is essential for the airy, light top layers in this layered tiramisu recipe. For a lighter option, half-and-half mixed with a spoon of gelatin can do the trick.
- 1 teaspoon vanilla extract – This is a tiny but mighty ingredient that adds depth without stealing the show. You’ll find it in the baking aisle of most grocery stores.
- 1 cup strong brewed coffee, cooled – This is the heart of these coffee flavored dessert bars. Espresso or strong drip coffee works best. If you want a caffeine-free version, try chicory coffee or decaf espresso.
- 24 ladyfinger cookies (savoiardi) – These form that crispy-soakable base. They’re pretty easy to find in most supermarkets, either in the cookie aisle or near the international foods section.
- 2 tablespoons unsweetened cocoa powder for dusting – It adds that final touch of rich bitterness to balance the sweetness. Store cocoa powder in a cool, dry place; it lasts a long time.
Here’s a kitchen tip: I often add a splash of coffee liqueur or amaretto into the brewed coffee for an adult twist on these Tiramisu Bars. This little secret step elevates the flavor without complicating the process.
Budget-friendly note: This Tiramisu Bars recipe is affordable because it uses simple pantry staples combined thoughtfully. The ladyfingers and cream cheese form the most expensive parts, but a little goes a long way.
If you happen to have leftover heavy cream after making these bars, whip it up with a bit of sugar and vanilla for a quick homemade topping. It’s a great way to cut down on waste and add extra charm to your dessert spread.
Let’s Cook It Together!
- Start by preparing your coffee. Brew 1 cup of strong coffee and let it cool completely. While waiting, gather all your ingredients and set up your workspace. From start to finish, this Tiramisu Bars takes me about 30-40 minutes plus chilling time.
- In a large mixing bowl, beat the softened cream cheese with the powdered sugar until smooth. This forms the creamy base, so take a minute to get it silky. If small lumps linger, just keep beating—it’ll smooth out.
- In a separate chilled bowl, whip the heavy cream and vanilla extract until soft peaks form. You want it airy but still stable enough to fold into the cream cheese mixture. This is a key step for the perfect texture in your cream cheese tiramisu bars.
- Carefully fold the whipped cream into the cream cheese mixture. Folding gently keeps the bars light and fluffy. This is where I usually remind myself not to rush these Tiramisu Bars—patience here makes all the difference.
- Grab a rectangular baking dish and arrange a single layer of ladyfingers, side by side. Quickly dip each ladyfinger in the cooled coffee—just a second—so they soak up flavor without getting soggy. This part can get messy, but don’t stress.
- Spread half of the cream cheese and whipped cream mixture over the ladyfingers evenly. Layer on another set of coffee-dipped ladyfingers over the cream layer.
- Top those with the remaining cream mixture and smooth the surface with a spatula.
- Dust the entire top with unsweetened cocoa powder for that signature finish. Use a fine-mesh sieve for an even layer. Your kitchen should smell incredible when your Tiramisu Bars is ready—it’s that cozy coffee and creamy blend.
- Cover and refrigerate for at least 4 hours or overnight. This chilling step lets the flavors meld and the bars set to the perfect sliceable texture.
While your Tiramisu Bars is chilling, you can tidy up or prepare drinks for your guests. Multitasking here makes getting dinner to table feel less hectic.
If your bars look a little loose when slicing, don’t worry—just pop them back in the fridge longer. The cream will firm up, and the flavor only gets better.
This no-bake tiramisu bars method saves time and keeps the kitchen cooler during warm days, making it a go-to when you need a dessert that’s reliable and fuss-free.
How to Serve & Enjoy It!
This Tiramisu Bars shines when served chilled straight from the fridge, sliced into even squares. I like to add a small dollop of whipped cream on the side for a fresh touch.
Pairing these bars with a simple glass of milk or an espresso really complements the coffee flavors. During casual get-togethers, I serve them alongside buttery biscotti or almond cookies for a crunchy contrast.
These coffee flavored dessert bars are perfect for any occasion—from birthdays to weekend family dinners, or just a sweet pick-me-up on a rainy afternoon. The layered tiramisu recipe setup is so adaptable that you can dress it up with seasonal twists.
For example, around fall, I’ve tried dusting the top with pumpkin spice mixed into the cocoa, inspired by a creamy pumpkin tiramisu recipe I found on The Stay At Home Chef Facebook page. My guests were surprised and delighted by the cozy hit of spice.
Leftovers? They keep beautifully covered in the fridge for up to 3 days. I’ve turned some into frozen pops by scooping the mix into popsicle molds—instant coffee-flavored dessert bars on a stick, perfect for summer!
When I serve these cream cheese tiramisu bars at gatherings, people often comment on how they taste just like traditional tiramisu but without all the fuss. They’re always a crowd pleaser.
Your Questions Answered
Can I make this Tiramisu Bars ahead of time?
Absolutely! Make your tiramisu bars a day in advance or even two. They actually taste better once all the flavors have melded and the layers have firmed up. Just keep them wrapped tightly in the fridge.
What’s the best substitute for cream cheese in this Tiramisu Bars?
If you want to skip cream cheese, mascarpone is the traditional option and works wonderfully. For a lighter touch, ricotta mixed with a bit of yogurt can also substitute well. I once tried coconut cream for a dairy-free twist and it was surprisingly delicious.
How do I adjust this Tiramisu Bars for more or fewer servings?
Easy! Just double or halve the ingredients depending on your pan size. A 9×9-inch pan works well for a smaller batch, while a 9×13-inch dish is great for larger gatherings. I’ve found scaling up doesn’t change the timing much.
Can I make no-bake tiramisu bars with different flavors?
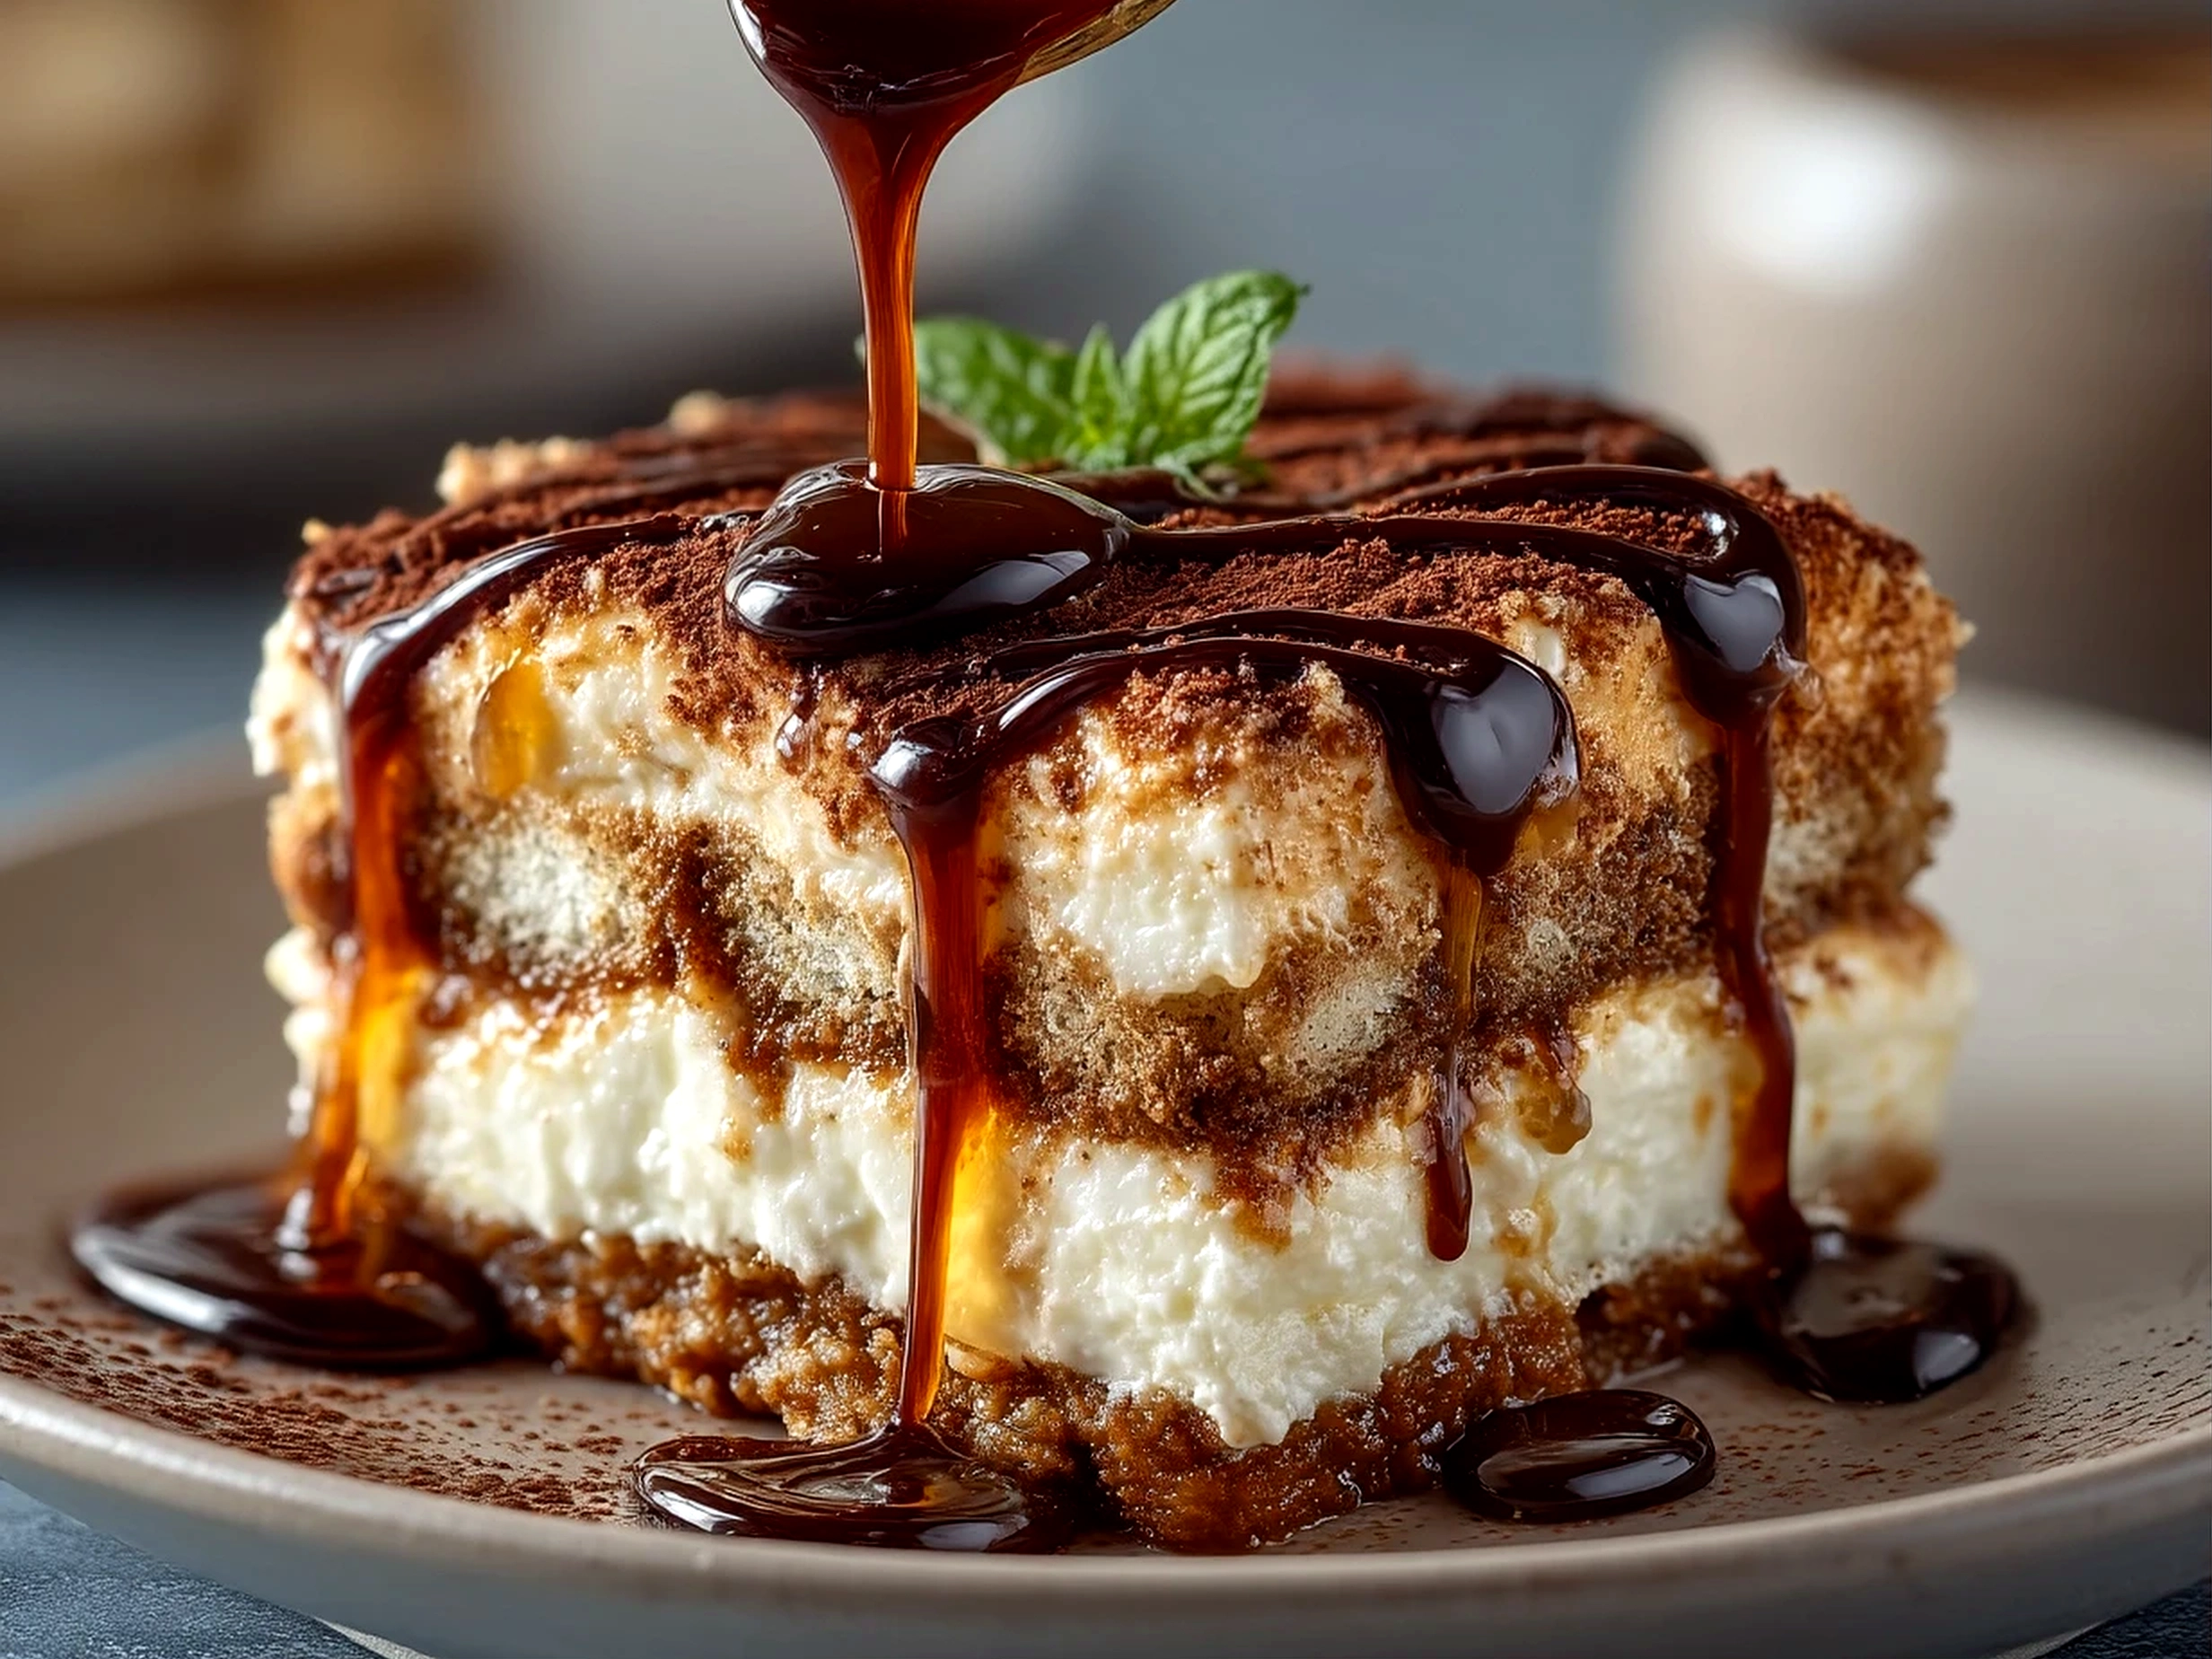
Definitely. The base coffee flavor is classic, but I’ve experimented with chocolate drizzle, orange zest, and even a splash of liqueur like Kahlua for variations. Some readers shared a lovely version with matcha powder replacing cocoa dust.
What if I don’t have ladyfingers?
No worries—you can use sponge cake or even graham crackers as a base in your layered tiramisu recipe. The texture will be slightly different but still tasty.
Can I freeze these Tiramisu Bars?
Freezing can be tricky because of the cream cheese and whipped cream layers—they don’t always thaw perfectly. However, if you wrap them tightly, you can freeze up to a month. Thaw in the fridge overnight before serving.
Is there an egg-free version of Tiramisu Bars?
Yes! This recipe is naturally eggless. If you want to go fully traditional but without eggs, there are versions like the easy eggless tiramisu from Pastry Chef Online that sprinkle in toffee bits for texture.
Final Thoughts
Tiramisu Bars hold a special spot in my recipe collection because they deliver that iconic coffee and cream combo in a no-fuss, no-bake format. My best Tiramisu Bars tips? First, don’t rush the chilling—it’s essential for flavor melding and texture. Second, take care when dipping ladyfingers; just a quick dunk keeps the structure perfect. Lastly, don’t be shy with the cocoa dusting; it balances the sweetness beautifully.
I’ve tested several variations, including a dairy-free raw vegan blueberry cheesecake bars inspired by a recipe on my own site, a pumpkin-spiced seasonal tweak from The Stay At Home Chef’s post, and a simple classic that always gets requested first.
The version that wins most hearts is the classic cream cheese tiramisu bars—it’s easy, indulgent, and just right for any occasion.
I hope you’ll find making these Tiramisu Bars as fun and rewarding as I do. They’re truly a testament that delicious, approachable desserts don’t have to be complicated. So grab your coffee, prep your layers, and enjoy a homemade treat that feels like a little celebration in every bite.
If you want a slightly different but equally reliable crowd-pleaser, I highly recommend checking out these raw vegan blueberry cheesecake bars on Duma Foods for another simple dessert idea.
And if you’d love more inspiration for easy tiramisu dessert variations, Taste Better From Scratch, The Stay At Home Chef, and Pastry Chef Online have fantastic recipes that pair perfectly with this one.
Happy cooking, friends—your next favorite Tiramisu Bars awaits!
Tiramisu Bars
Delightfully creamy and coffee-infused, these Tiramisu Bars transform the classic Italian dessert into an easy-to-serve treat perfect for any occasion.
- Prep Time: 20 minutes
- Cook Time: 0 minutes
- Total Time: 4 hours 20 minutes
- Yield: 12 servings
- Category: Dessert
- Method: No-Cook
- Cuisine: Italian
Ingredients
- 1 cup strong brewed espresso, cooled
- 2 tablespoons coffee liqueur (optional)
- 16 ladyfinger cookies
- 8 ounces mascarpone cheese
- 1 cup heavy cream
- 1/2 cup granulated sugar
- 1 teaspoon vanilla extract
- 2 large eggs, separated
- 2 tablespoons cocoa powder, for dusting
Instructions
- In a shallow dish, combine espresso and coffee liqueur (if using). Quickly dip ladyfinger cookies into the mixture, ensuring they soak briefly but remain firm. Arrange them evenly in the bottom of an 8×8-inch baking pan.
- In a mixing bowl, whisk egg yolks with sugar until pale and creamy.
- Add mascarpone cheese and vanilla extract to the egg yolk mixture and blend until smooth.
- In a separate bowl, beat heavy cream until stiff peaks form. Gently fold whipped cream into the mascarpone mixture.
- In another clean bowl, beat egg whites until stiff peaks form. Carefully fold the egg whites into the mascarpone and cream mixture for a light texture.
- Spread half of the mascarpone mixture evenly over the ladyfingers in the pan.
- Add another layer of dipped ladyfingers on top, then spread the remaining mascarpone mixture over the second layer.
- Cover the pan and refrigerate for at least 4 hours or overnight, allowing the flavors to meld and bars to set.
- Before serving, dust the top generously with cocoa powder. Cut into bars and serve chilled.
Notes
For a boozy kick, sprinkle additional coffee liqueur between layers or substitute heavy cream with light whipped topping for a lighter version.