I remember the first time I made an Energy Ball—my friend Sarah introduced me to these little power-packed bites during a hiking trip. We stopped for a snack break on a sunny trail, and she pulled out a container filled with sticky, sweet, and nutty balls that seemed to have endless energy. I was immediately hooked. What made it memorable wasn’t just the flavor but how easy they were to carry and how they kept me fueled without weighing me down.
Since that day, making Energy Ball in my kitchen became a bit of a ritual. They fit right into my everyday cooking because they’re quick to whip up and don’t require any baking. Whether it’s a mid-morning pick-me-up or something to slip into lunchboxes, this Energy Ball shines as a go-to healthy snack. I love sharing this recipe with fellow home cooks who want a nutritious treat that doesn’t demand a lot of time or fancy ingredients.
What I appreciate most about this Energy Ball is how approachable it is. It’s perfect for gatherings too—a batch always disappears fast when I bring them to potlucks or weekend brunches. It’s simple, reliable, and tastes delicious every single time. If you’re someone who enjoys real, tasty food but doesn’t want to fuss in the kitchen, this recipe is for you. Let’s dive in—I’m excited to share everything you need to know to make your own batch of these protein bites.
What You’ll Need:
Here’s what you’ll need for your Energy Ball. Don’t worry, these ingredients are pantry staples for most home cooks.
- 1 cup rolled oats (gluten-free if preferred)
- 1/2 cup natural peanut butter (or almond butter for a switch-up)
- 1/3 cup honey or maple syrup (pick whichever you have on hand—both work beautifully)
- 1/4 cup ground flaxseed (great for fiber and texture)
- 1/2 cup mini chocolate chips (optional but adds that fun, sweet surprise)
- 1 tsp vanilla extract (you’ll find this in the baking aisle)
- 1/4 tsp salt (balances flavors perfectly)
- 1/4 cup chopped nuts of your choice (pecans, walnuts, or even sunflower seeds if nuts aren’t your thing)
No problem if you’re out of ground flaxseed—I’ve also used chia seeds with equally great results. This Energy Ball is affordable because most of these items are things I usually stock for everyday cooking. A kitchen tip: if your peanut butter is on the thick side, warming it a little makes mixing easier and helps the Energy Ball bind better.
Once you measure everything, you can keep any leftovers like nuts or oats in an airtight container in your pantry for several weeks. That way, your next batch is ready to roll whenever you are. My secret for a little extra flavor? Toasting the oats lightly in a dry pan before mixing. It brings out a nutty aroma that makes the Energy Ball smell irresistible.
Let’s Cook It Together!
Making this Energy Ball is a breeze. Here’s how you’ll do it—from start to finish, expect about 15 minutes.
- Combine the oats, ground flaxseed, salt, and nuts in a medium bowl. Stir until everything’s evenly mixed. The oats give this Energy Ball a chewy base that’s satisfying and filling.
- Add the peanut butter, honey, and vanilla extract. Using a sturdy spoon or your hands, mix everything until the wet and dry ingredients come together into a sticky dough. Don’t rush this part—getting a good mix is key to a great Energy Ball that holds together well.
- Fold in the chocolate chips gently. If you add them too early, they might melt into the warm mixture, and that’s a different treat altogether! Think of these as surprise bites to enjoy.
- Chill the mixture in the fridge for about 10 minutes. This step firm ups the dough and makes rolling the Energy Ball easier. While that’s happening, you can tidy up your prep area or pour yourself a cool drink.
- Roll the dough into balls about 1 inch in diameter. You should get roughly 15-20 Energy Balls depending on size. If the mixture feels too sticky, wet your hands slightly—this little trick stops the dough from clinging to you.
- Store your Energy Balls in an airtight container in the fridge. They keep well for up to a week or freeze perfectly for up to 3 months.
If your Energy Ball looks crumbly, don’t worry. Adding a little more peanut butter or honey usually fixes the texture. This is where I used to rush mine—patience here makes all the difference.
This same method works if you want to swap in sunflower seed butter or add a pinch of cinnamon for a seasonal twist. I’ve found keeping it flexible helps these protein bites stay in regular rotation, especially when I want a quick nutritious treat without more fuss.
How to Serve & Enjoy It!
When it comes to serving this Energy Ball, simplicity is best. I usually keep a stack on hand for a quick snack between meals or a handy addition to packed lunches.
This Energy Ball shines when paired with a piece of fresh fruit, like an apple or banana. The combination of fresh and chewy textures feels satisfying and balanced. For a more filling snack, I like to serve a few with Greek yogurt—this pairs perfectly with the natural sweetness and boosts the protein.
I find this Energy Ball works great for all sorts of occasions. It’s my secret weapon for busy mornings, long road trips, or after-school snacks. Once, I brought them to a family brunch, and my niece said, “These are like little power nuggets!” Slightly embarrassing but exactly why I make them.
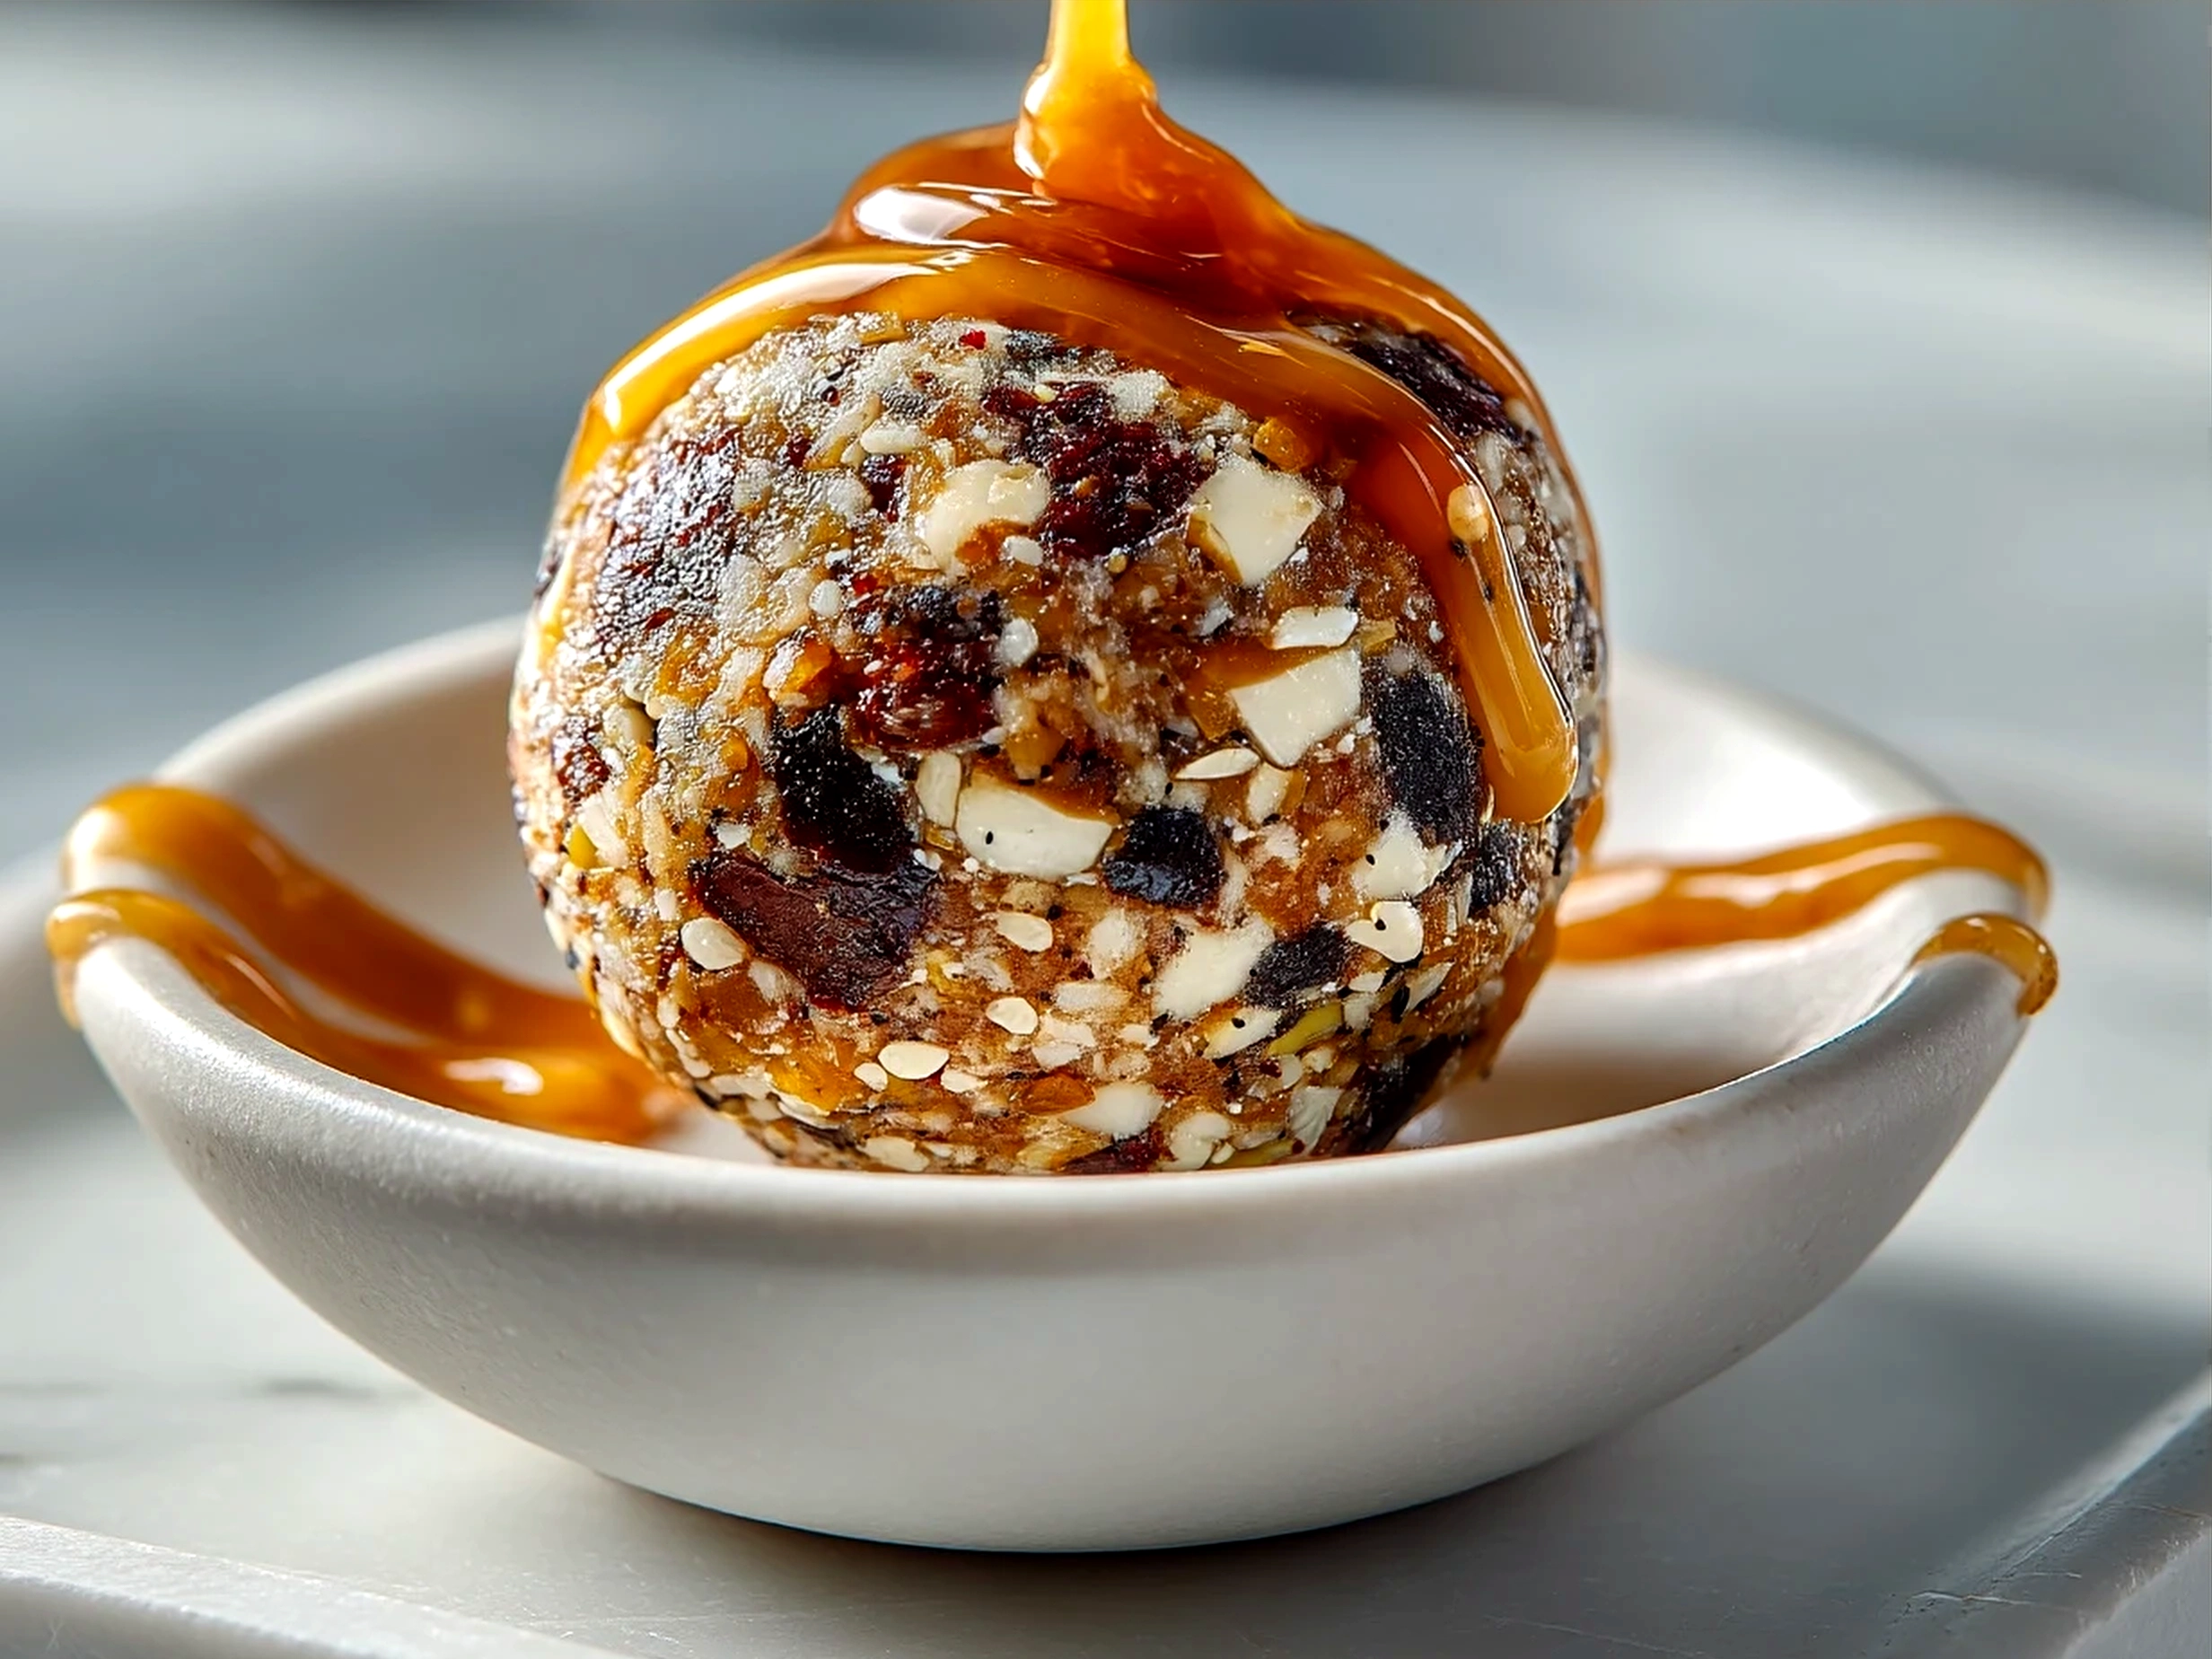
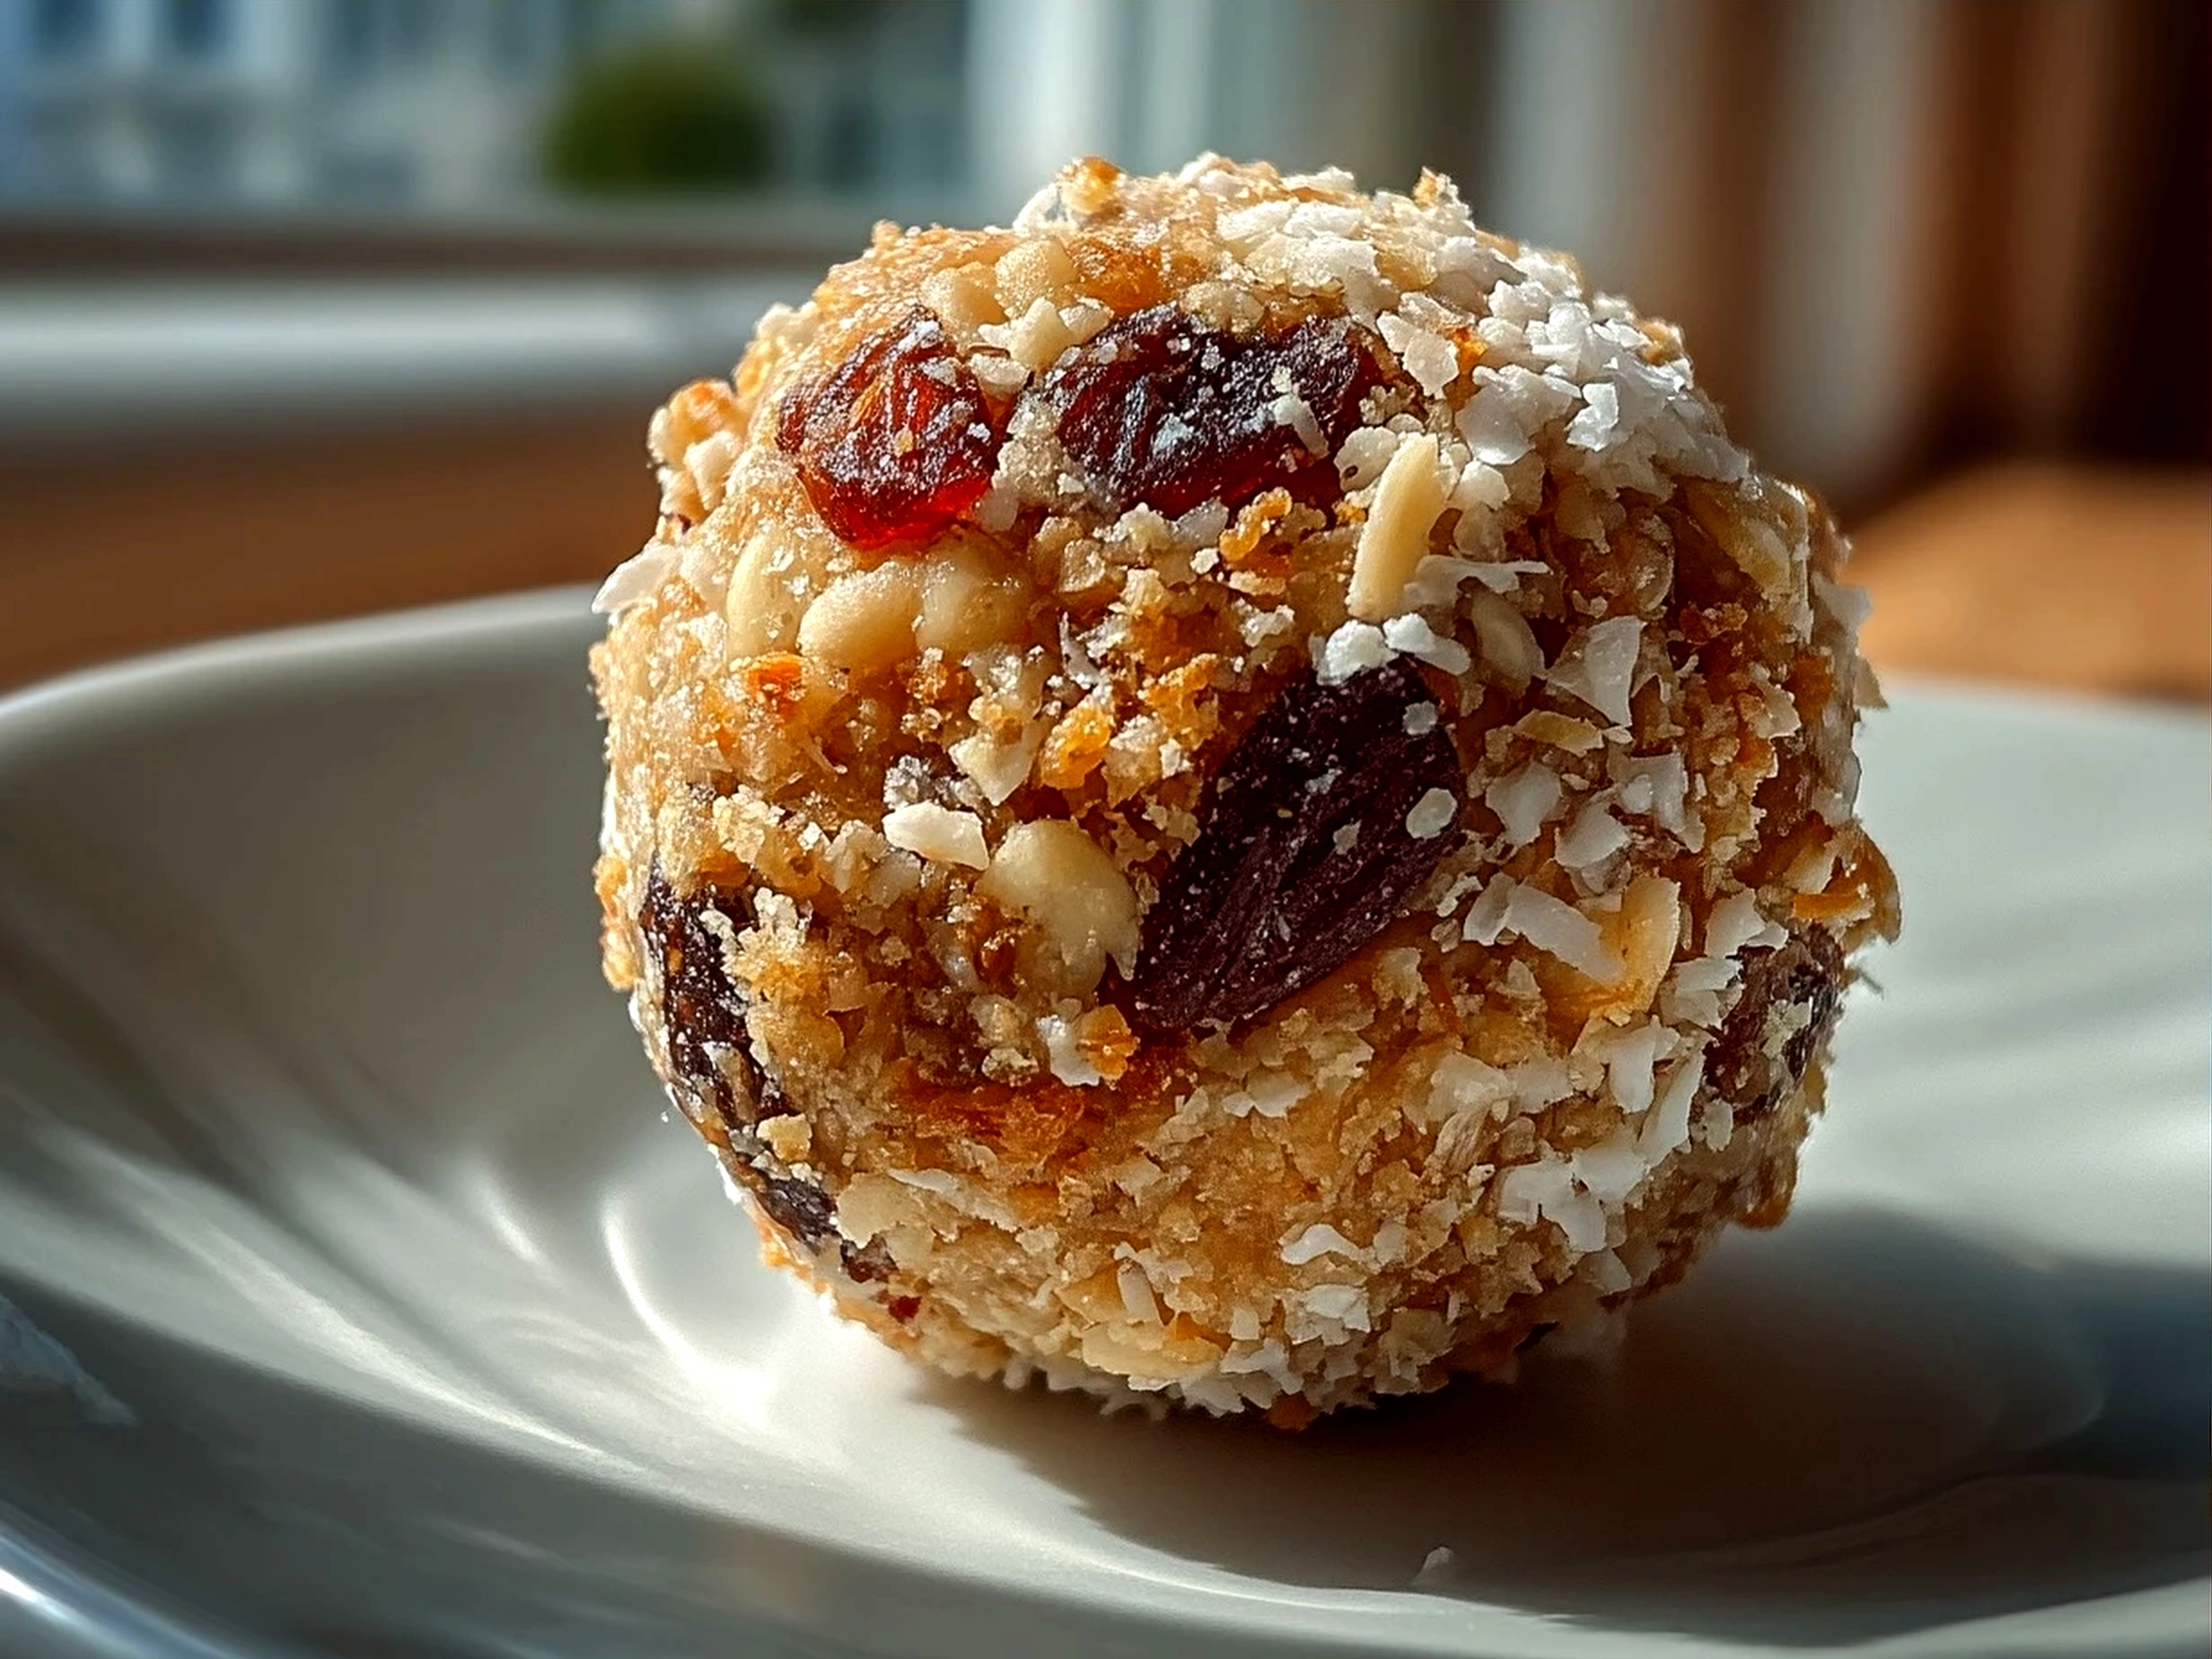
For presentation, a simple sprinkle of shredded coconut or a dusting of cocoa powder adds a nice touch. Want to go fancy? Roll the balls in crushed nuts or seeds for a crunchy exterior. Leftovers? I like chopping them up and mixing into my morning oatmeal for an extra boost.
Seasonally, swapping honey with maple syrup and adding spices like pumpkin pie spice can give these raw energy bites a cozy fall vibe. For a festive twist, I’ve dabbled in rolling them in finely chopped peppermint or mini red and green chocolate chips during the holidays.
Your Questions Answered
Can I make this Energy Ball ahead of time?
Absolutely. These protein bites actually taste better after chilling overnight. You can make a batch and keep them in the fridge for up to a week or freeze them for longer storage.
What’s the best substitute for peanut butter in this Energy Ball?
I’ve swapped peanut butter with almond butter, sunflower seed butter, or even cashew butter—all work really well. Just pick a creamy type to help with binding the mixture.
How do I adjust this Energy Ball for more or fewer servings?
Scaling up or down is straightforward. Keep the ratios consistent, and just multiply or divide each ingredient. If you’re doubling the recipe, mixing in a larger bowl helps avoid a mess.
Can I add protein powder to these Energy Balls?
Yes, adding a couple of tablespoons of your preferred protein powder works great. Just note it might change the texture a bit, so you might need to add a splash more liquid like honey or peanut butter.
What if my Energy Ball is too sticky to roll?
Try chilling the mixture longer or lightly wetting your hands before rolling. If it’s still sticky, sprinkle a bit more oats or flaxseed to absorb excess moisture.
Can I replace oats with another grain or seed?
Oats provide structure and chew here, but you can try crushed puffed rice or finely chopped nuts. Just keep the texture in mind—it will change the final bite.
Are these Energy Balls kid-friendly?
Definitely! I’ve made these protein bites for my niece’s lunch and got rave reviews. You can make them sweeter or softer by adjusting honey and nut butter amounts.
My Energy Ball recipe reminds me of quick no-bake recipes like Easy No-Bake Oatmeal Protein Balls – The Healthy Maven or No-Bake Energy Bites Recipe. Both are super helpful for inspiration and tweaks.
Final Thoughts
This Energy Ball holds a special place in my kitchen because it’s reliable, fast, and always delicious. It’s one of those recipes you come back to when you want a snack that feels homemade but practically makes itself.
My best Energy Ball tips:
- Use fresh, good-quality nut butter for the best flavor and texture.
- Don’t skip the chilling step—it really helps with rolling success.
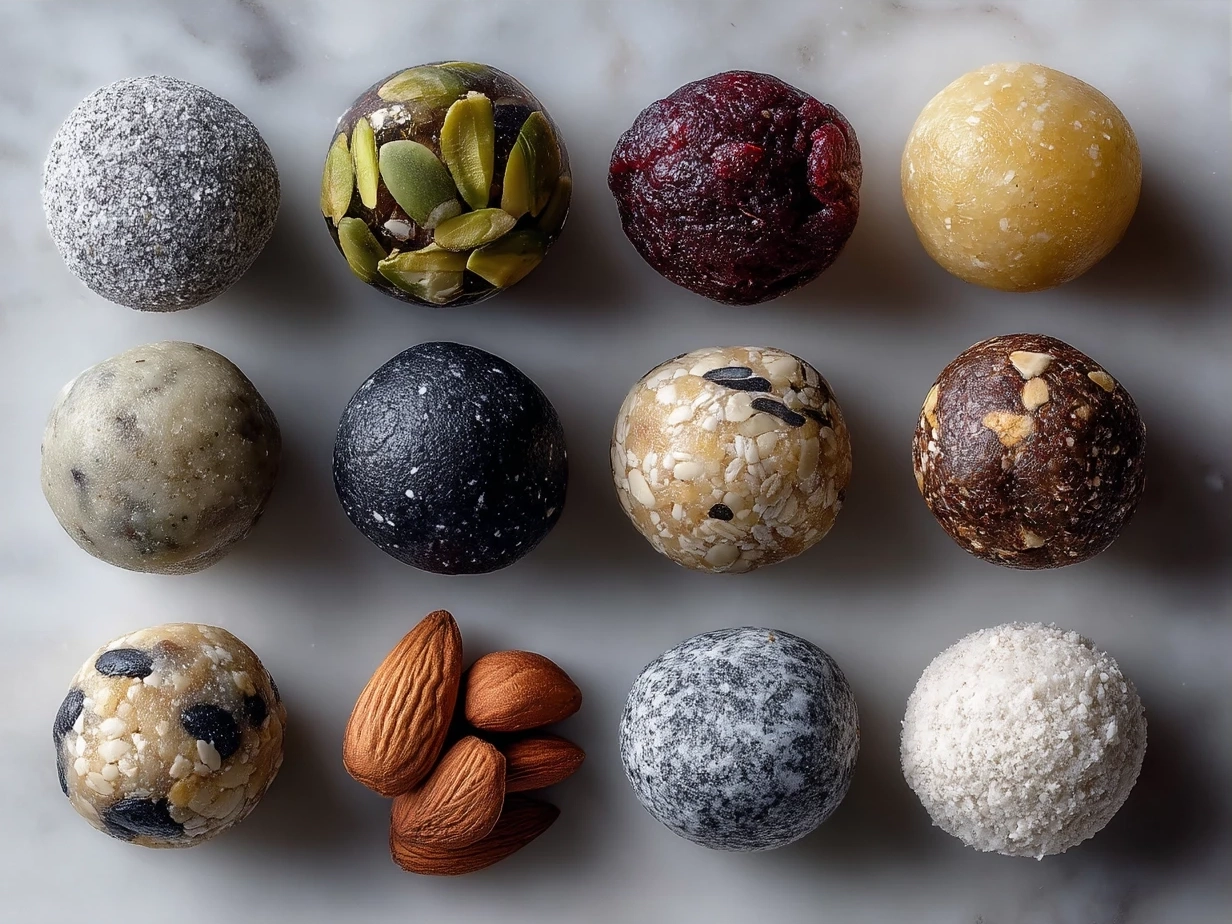
- Customize your add-ins—nuts, seeds, or chocolate chips—for variety without stress.
Over time, I’ve tested versions with added cacao powder for richness, dried fruit bits for chewiness, and even a sprinkle of sea salt for contrast. The version with extra mini chocolate chips is by far the most requested when I bring these protein bites to friends.
I hope you’ll love making this Energy Ball as much as I do. It’s a simple recipe that fits into busy lives while still packing flavor and nourishment. Go ahead, make it your own, and share the joy with those around you. You’ve got this!
If you want to try other easy crowd-pleasers, I bet you’ll also enjoy these cream cheese sausage balls or no-bake red velvet snowball truffles. For a savory twist on the energy ball concept, check out easy yaki onigiri grilled rice balls.
And if you want more inspiration from fellow home cooks, take a look at 20 Easy, Nutritious Energy Ball Recipes Kids Love! | Sarah Remmer for tasty variations you can try next.
Energy Ball
Energy Balls are a nutritious and quick no-cook snack packed with natural ingredients to fuel your day with wholesome energy.
- Prep Time: 10 minutes
- Cook Time: 0 minutes
- Total Time: 10 minutes
- Yield: 12 servings
- Category: Snack
- Method: No-Cook
- Cuisine: American
Ingredients
- 1 cup rolled oats
- 1/2 cup peanut butter
- 1/3 cup honey
- 1/4 cup ground flaxseed
- 1/2 cup dark chocolate chips
- 1 tsp vanilla extract
- Pinch of salt
Instructions
- In a large bowl, combine rolled oats, ground flaxseed, and salt.
- Add peanut butter, honey, and vanilla extract. Mix well until all ingredients are evenly incorporated.
- Fold in the dark chocolate chips.
- Using your hands or a small scoop, form the mixture into 1-inch balls.
- Place the balls on a baking sheet lined with parchment paper and refrigerate for at least 30 minutes to set.
- Store in an airtight container in the refrigerator for up to one week.
Notes
For a nut-free version, substitute peanut butter with sunflower seed butter and use dairy-free chocolate chips.